Editing Conventional Favorites List in Sentinel
From The RadioReference Wiki
Editing Conventional Favorites Lists in Sentinel
- Editing Conventional Favorites Lists in Sentinel is easy once you
get used to the process of using the Favorites List Editor.
- In Sentinel click on the Favorites List you wish to edit:
- Now click look at the Sentinel Icon Menu Bar above the Favorites Lists and
click on the "Favorite List Editor" Icon which is a Star with a pencil in the middle
that looks like this:

- After clicking on the Favorites List Editor Icon
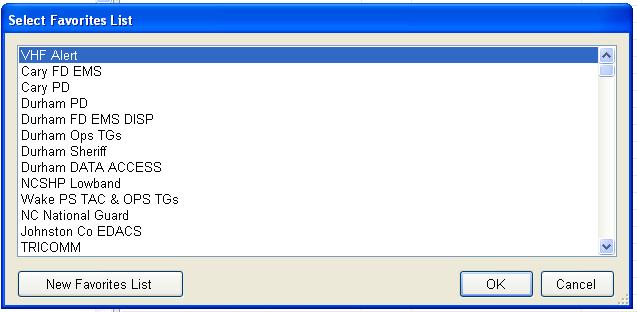
 You should see the following box pop up with the Favorites List you clicked on at the beginning highlighted:
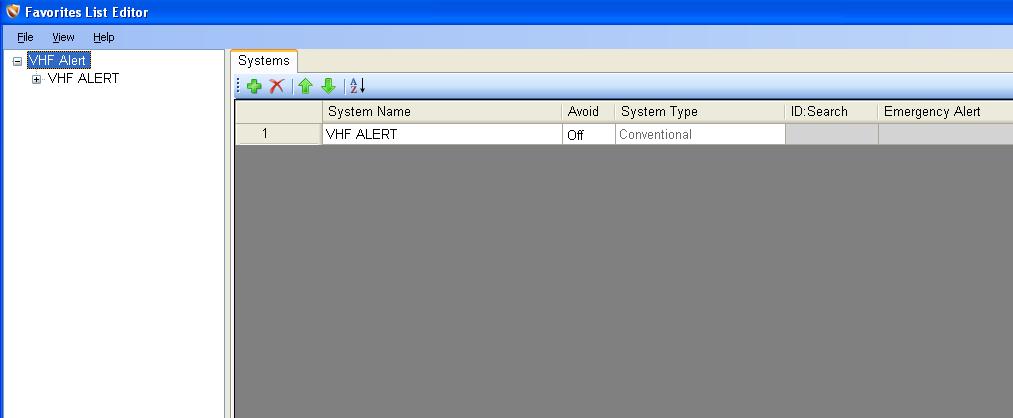
- Click "Ok" and The Sentinel Favorites List Editor should open up for you:
- Couple of things to notice in the right side in the above picture:
- --You can Edit the System Name (where I have VHF Alert in the white box).
- --The Green Plus Icon allows you to add another line of information.
- The Red Cross (X) allows you to delete a line of information.
- The Up and Down Green Arrows allow to you move a line of info up or down in the list.
- And the AZ with a Down Arrow to the right of it allows you to Sort Lines of info in Alphabetical order.
- --You can Edit the System Name (where I have VHF Alert in the white box).
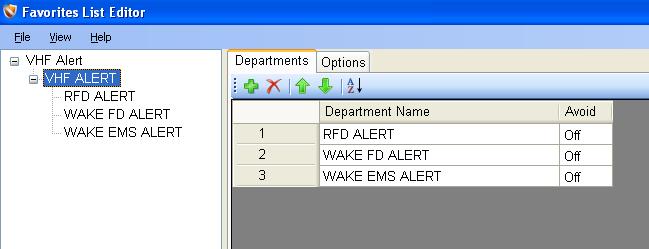
- Now Let's click on the plus sign to the left of the System Name (VHF Alert in my example):
- This opens up our Department List for this Favorites List/System. If you are used to using Uniden
Dynamic Memory Scanners you can think of a Department in the HomePatrol Universe as the same as a "Group" within a system in Uniden Dynamic Memory Scanners. As we can see above I have 3 Departments within my VHF Alert Favorites List/System:
- RFD ALERT
- WAKE FD ALERT
- WAKE EMS ALERT
- If we click on the System "Options" Tab to the right of the "Departments" Tab we are given the chance to
Edit the System Name and whether or not the system is "Avoided" (Locked Out):

- Now Let's Click on the First Department Name, which is "RFD ALERT" in our Example:
- As you can see above this is where the real editing fun takes place. This is The Department Editing Screen
where the individual frequencies are entered and the various options are checked off
- (such as CTCSS, Service Type, etc).
- Protip: Windows Commands such as CTRL+C (Copy) and CTRL+V (Paste) work great at this point in Sentinel.
- Especially if you have a large Excel file you wish to copy into Sentinel. Just do a CTRL+C from Excel
and then CTRL+V into Sentinel. Just remember you can only copy one column of data at a time into Sentinel.
- This means you will have to copy the Frequencies over in one transaction then in a separate copy/paste
copy the alphatags over to match up with the Frequencies.
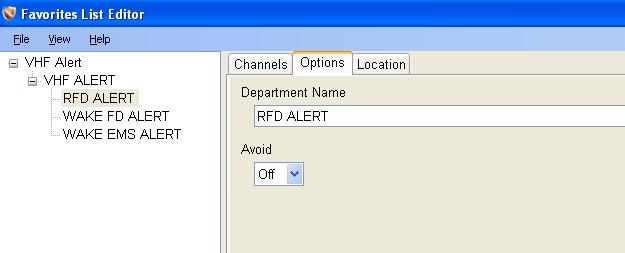
- Let's take a look at those other Tabs in the Department Editing Screen. First up is the "Options" Tab:
- As you can see above I can edit the Department Name and whether or not it is scanned.
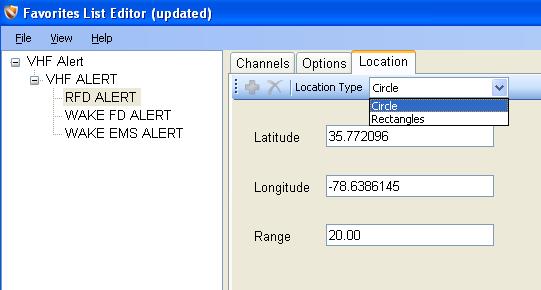
- Now Let's take a look at that last Tab "Location":
- This is where I can set the Location type (Circle, Rectangle)
- and also the Latitude, Longitude and Coverage Range. If you copied from the HPDB into
- your Favorites List you might have these filled in already but you can still edit these
- values if you wish.
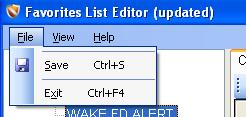
- Once you are done editing your favorites lists make sure you select "Save" from the
- File Menu in the upper left hand corner:
- Notice the (updated) above? That lets me know that Sentinel has seen me make changes but
- Those changes are not saved until you select File->Save.
- Last but not least: Make sure you write your modified Favorites List to your HP-1 by
- Selecting "HomePatrol" then "Write to HomePatrol"!
- Sentinel-related articles

